So, you want to dive into the world of motion graphics? You’re in the right place. This isn't just about making things move—it’s where graphic design truly comes alive, blending animation, text, shapes, and images to tell compelling visual stories. Think of this guide as your roadmap, taking you from the initial setup all the way to your first polished project.
Why Learning Motion Graphics Is a Game-Changer
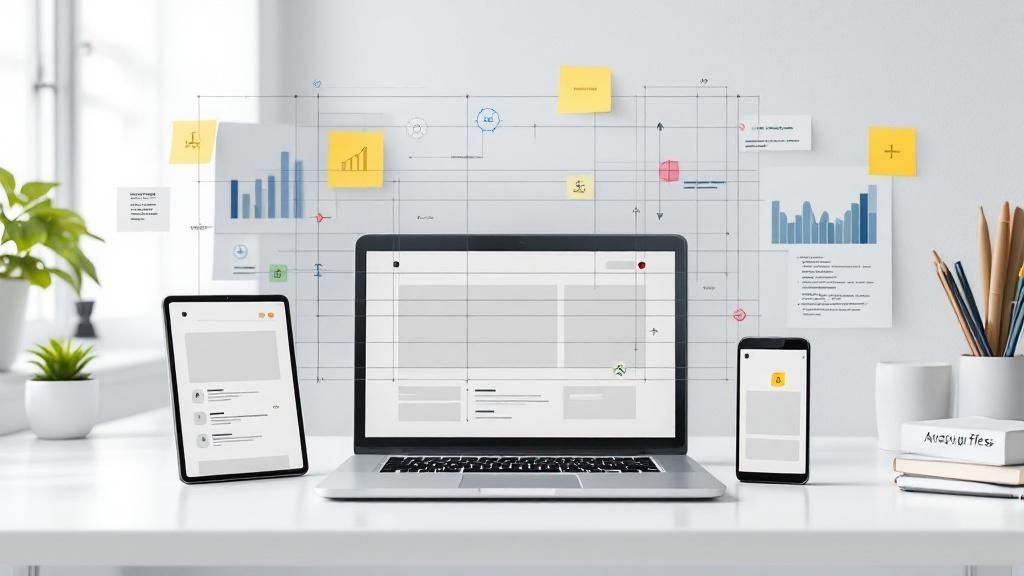
If you're serious about motion graphics, you'll get to know a workspace like the one above. That's Adobe After Effects, the industry-standard software where most of the magic happens. Getting comfortable in this environment is the first major step toward turning your creative ideas into reality.
Learning motion graphics isn't just a hobby; it's a powerful and seriously in-demand skill. This is the craft that powers everything from viral social media clips and sleek marketing campaigns to the epic title sequences in blockbuster films. Mastering it opens up a ton of creative and professional doors, letting you transform static designs into narratives that grab an audience.
And the demand for skilled motion designers isn't just something we feel in the industry—the numbers back it up. The global animation market was valued at around $371.85 billion in 2024, and it’s only projected to climb from there. That growth is being driven by a constant need for engaging visual content across digital marketing, entertainment, and education.
The Creative and Career Edge
Diving into motion graphics gives you a real, tangible advantage, whether you're working on personal projects or leveling up your career. It’s an incredibly versatile skill that instantly boosts your value as a designer, marketer, or content creator.
Here’s a quick rundown of why it’s worth your time:
Skyrocket Engagement: Let's be honest, moving visuals just capture and hold attention better than static images. It's a fact. Your content instantly becomes stickier and more memorable.
Make Complex Ideas Simple: Motion graphics are the perfect tool for breaking down complicated information. Think of all those slick explainer videos that make a complex topic feel easy to grasp.
Supercharge Your Storytelling: Animation allows you to inject emotion, tone, and personality into a brand or message, forging a much stronger connection with your viewer.
The real shift happens when you stop being a designer who just creates visuals and become a storyteller who directs them. It's the difference between just showing someone a logo and making that logo feel alive with character and purpose.
This guide is designed to give you the solid foundation you need to get started. We'll walk through everything from setting up your tools and understanding core principles to exporting your work for different platforms.
As you get more comfortable, you'll naturally want to explore more advanced techniques. To keep your momentum going, you can find a ton of additional video tutorials to expand your skill set. Ready to start building? Let’s do it.
Getting Started: Setting Up Your After Effects Workspace
Before you can bring your first animation to life, you need to get your digital workshop in order. Firing up Adobe After Effects for the first time can feel like stepping into a starship's cockpit—so many buttons and panels! But trust me, a little organization here goes a long way.
Your very first move is always to create a new composition. Think of a "comp" as your canvas. It’s where you set the project's core specs like size (1920x1080 pixels is standard for HD), frame rate, and how long your animation will run. To make one, just head up to Composition > New Composition. Easy enough.
Once that’s done, your screen will fill up with different panels. Don't let it intimidate you. Each one has a distinct job, and getting a handle on them is the key to working fast and efficiently.
The Core Panels You Can't Live Without
The beauty of After Effects is its modular interface. You can drag, drop, resize, and rearrange panels to create a setup that works for you. But no matter how you customize it, your workflow will always revolve around a few key players.
Here's the quick and dirty on the main panels you'll be using constantly:
The Project Panel: This is your digital filing cabinet. Every single asset you import—video clips, images, sound files, illustrator graphics, you name it—will live here. Keeping this organized from the get-go is a pro-level habit that will save you from future chaos.
The Composition Viewer: This is your main stage. It's the big window where you get a live preview of your animation. You'll use it to position your layers, check your motion, and see how everything looks together.
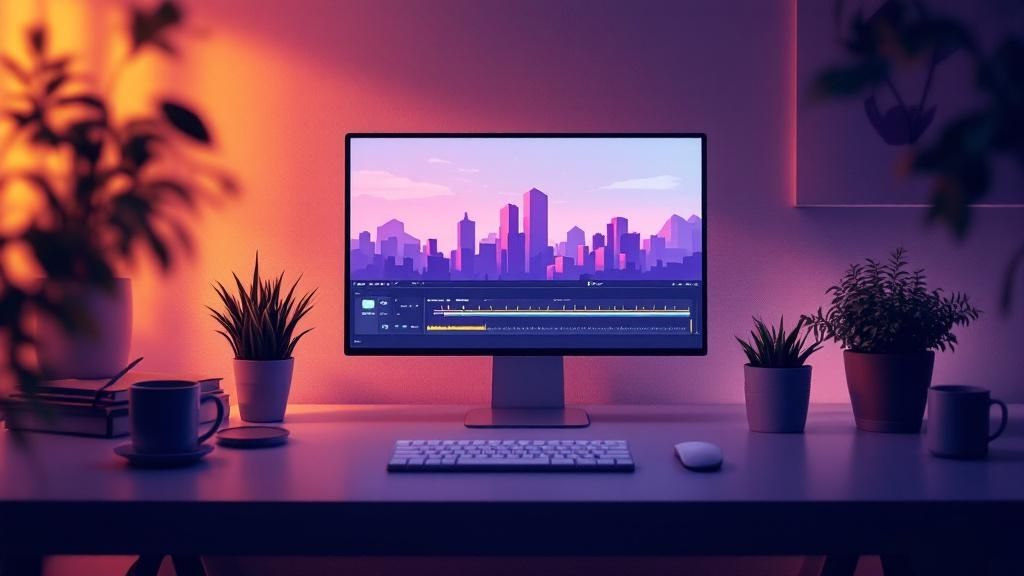
The Timeline Panel: This is the mission control of your entire project. It's where the magic of animation happens. You’ll spend most of your time here, setting keyframes, tweaking the timing of your layers, and stacking elements to build out your scene.
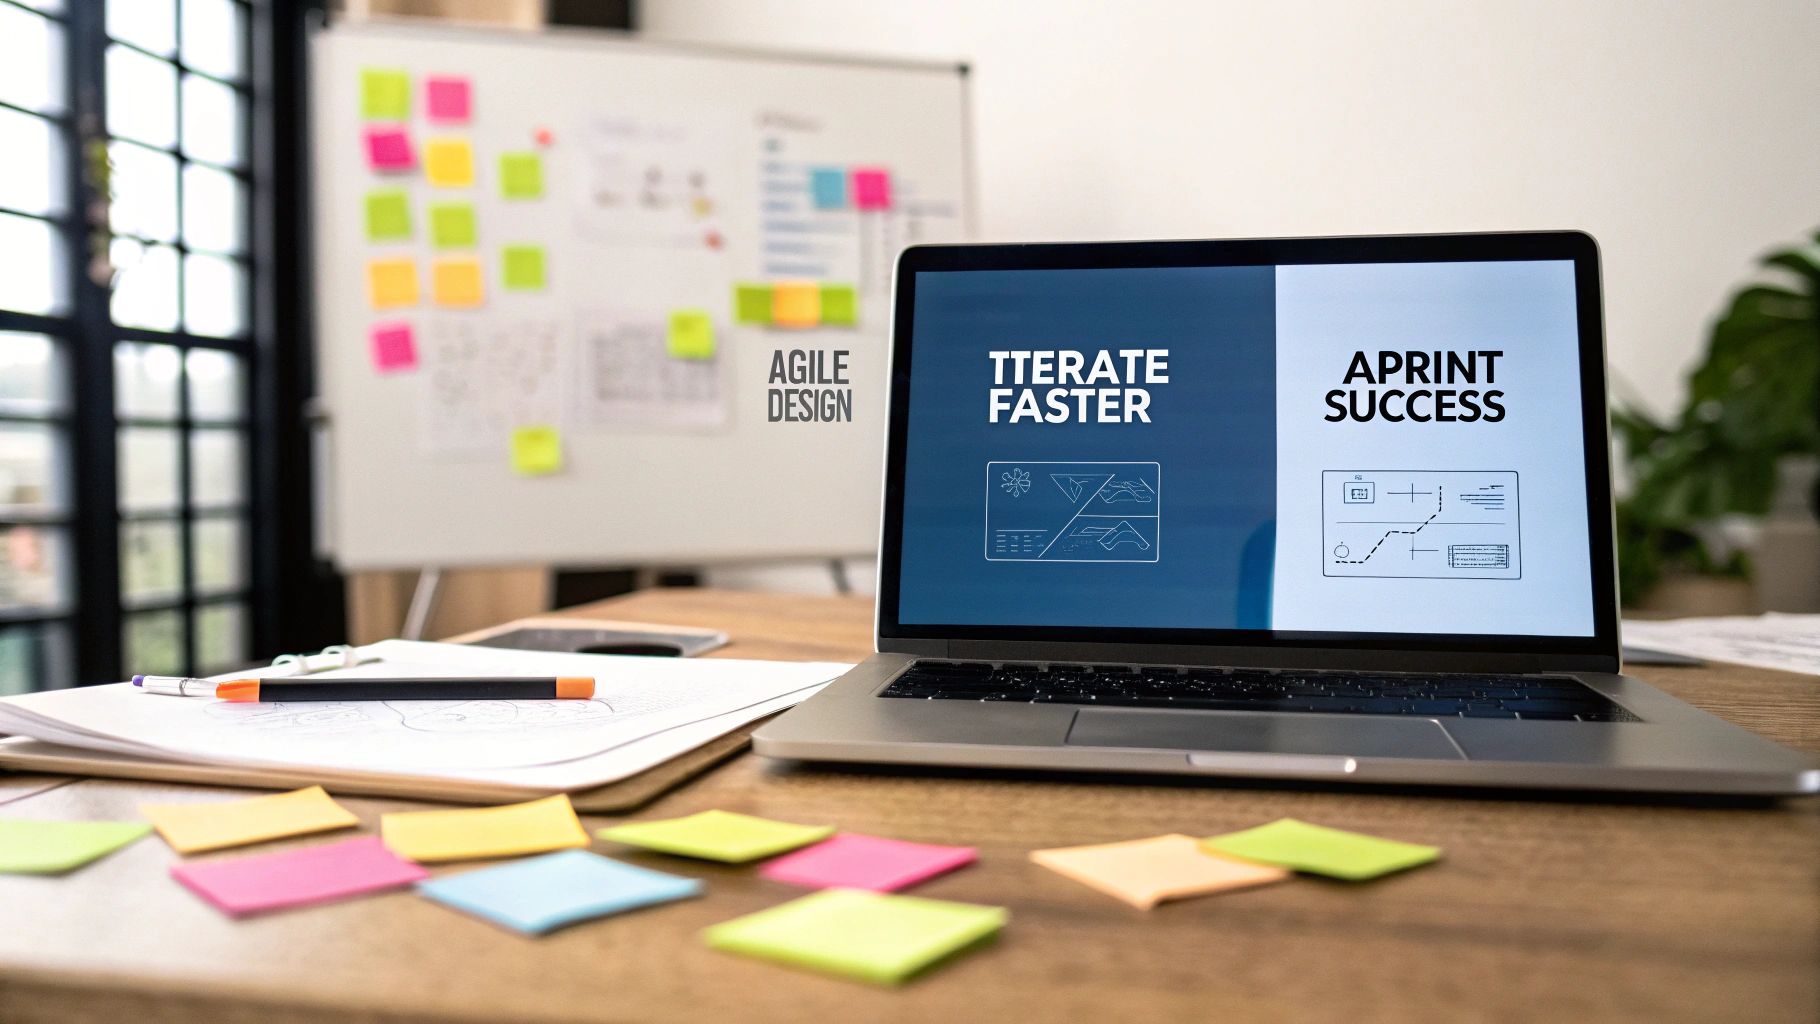
This basic dance—adding a keyframe to mark a point in time, adjusting how the animation moves to that point, and then refining it—is the absolute heart of motion design.

As that image shows, great motion graphics work is a constant cycle of setting key points, defining the motion between them, and tweaking until it feels just right.
This process is becoming more valuable every day. The demand for slick visual content is exploding, with the motion design software market valued at an estimated $737.53 million in 2024 and projected to soar past $1.26 billion by 2030. That growth is all about giving creators the tools they need to tell compelling stories visually.
To get your head around the main parts of the interface, let's break them down in a bit more detail.
Key After Effects Panels and Their Functions
Here’s a look at the essential panels you'll be interacting with. Understanding what each one does will make your journey into motion graphics much smoother.
Panel Name | Primary Function | Why It Matters for Beginners |
|---|---|---|
Project Panel | Stores and organizes all imported media files (video, audio, images). | This is your home base. Keeping it tidy prevents you from losing assets and helps you work faster. |
Composition Viewer | Provides a visual preview of your animation. | This is where you see what you're making in real-time. It's essential for arranging layers and checking your work. |
Timeline Panel | Controls the timing and animation of layers using keyframes. | This is where all the animation work happens. Mastering the timeline is mastering After Effects. |
Effects & Presets | Contains a library of built-in visual effects and animation presets. | A great starting point for adding style and flair without building everything from scratch. |
Effect Controls | Displays the properties and settings for any effect applied to a layer. | Once you apply an effect, this panel is where you customize it to get the exact look you want. |
Character & Paragraph | Tools for formatting and animating text layers. | Essential for any project involving typography, allowing you to control fonts, sizing, and spacing. |
Knowing these panels is the first step. The next is making them work for you.
Customizing Your Workspace for Speed
After Effects offers several pre-built workspace layouts, like "Standard," "Animation," and "Effects," which you can find under the Window > Workspace menu. I highly recommend clicking through each one to see how they rearrange the panels. It's a great way to discover what layout feels most intuitive for different tasks.
Your best workspace is the one that eliminates needless clicks. If you constantly find yourself digging through menus for the same tool or panel, dock it somewhere prominent. The goal is to make your setup feel like a natural extension of your creative thoughts.
Once you find a layout you love, you can save it as a custom workspace. This is a game-changer, especially if you jump between different kinds of projects, like character animation and kinetic typography.
Ultimately, a well-organized After Effects workspace is a critical part of a larger, efficient video production workflow. When your tools are where you expect them to be, you can spend less time searching and more time creating.
Applying Core Animation Principles
Okay, with your workspace all set up, it’s time to breathe some life into your designs. This is where the real fun begins—transforming static shapes into objects that move with purpose and personality. The secret isn't just making things move; it's all about how they move.
At the heart of literally all animation in After Effects are keyframes. Think of a keyframe as a simple instruction on your timeline. It tells the software what a layer’s property—like its position or size—should be at a specific moment. You’re essentially telling a circle, "At 0 seconds, be here. Then, at 1 second, be over there."
Mastering Transform Properties
Every single layer you create comes with a core set of "Transform" properties ready for you to animate. These are your absolute fundamentals, the building blocks for any motion you can imagine. Just click the small triangle next to your layer's name in the timeline to find them.
You’ll be spending most of your time with these five properties:
Position (P): This controls where an object sits in the frame, using its X and Y coordinates.
Scale (S): Dictates how big or small an object is.
Rotation (R): Manages the object's orientation, measured in degrees.
Opacity (T): Sets the transparency, from 0% (totally invisible) to 100% (fully solid).
Anchor Point (A): This is the pivot point from which all other transformations happen. For example, an object always rotates around its anchor point.
Ready to animate? Just click the little stopwatch icon next to any property. Boom—you’ve set your first keyframe. Now, move the playhead further down the timeline, change that property's value, and watch as After Effects automatically drops in a second keyframe for you. Just like that, you've created motion.
The Power of Easing and Timing
Now for the one thing that separates amateur motion from work that looks truly professional: easing. By default, the animation between two keyframes is linear. This means the object moves at a constant, robotic speed from point A to point B. Objects in the real world almost never move like that; they have to accelerate and decelerate.
This is where easing makes all the difference. Select your keyframes, right-click, and navigate to Keyframe Assistant > Easy Ease. Or, even better, just hit the F9 shortcut. This one simple action applies a natural-feeling acceleration and deceleration, making your movement instantly smoother and more believable.
Good animation isn’t just about movement; it’s about character. The way an object speeds up, slows down, or bounces tells a story. Mastering easing is the first step toward creating motion that feels intentional and impactful.
For ultimate control, you'll want to jump into the Graph Editor. It gives you a visual representation of your animation's speed over time. A flat line means no movement, while a steep curve signifies a rapid change. By grabbing the handles and manipulating these curves, you can craft anything from snappy, bouncy motion to slow, graceful transitions with absolute precision. Understanding tools that facilitate effortless keyframe animations can seriously level up your workflow, helping you nail complex movements much faster.
Putting It All Together: A Mini-Project
Let's tie these concepts together with a quick logo reveal. Picture a simple logo made of a circle and some text.
Animate the Circle: Start with the circle's scale at 0% and set a keyframe. Move forward about 15 frames and crank the scale up to 110%. Then, go another 5 frames and bring it back down to 100%. This little "overshoot" gives the animation a satisfying, bouncy arrival.
Reveal the Text: Just as the circle is settling into place, have your text fade in. Set the text layer's opacity to 0% right where the circle's animation starts. As the circle hits its final size, animate the opacity to 100% over the next 10 frames or so.
Add Easing: Now for the magic touch. Select all your keyframes and hit F9 to apply "Easy Ease." You'll immediately feel how much more cohesive and fluid the entire animation becomes.
By tweaking these core properties and applying some simple easing, you’ve just built a dynamic, professional-looking logo reveal from scratch. This foundational knowledge is what will give you the confidence to tackle any motion graphics project that comes your way.
Building Your First Animated Scene
Alright, you’ve got your workspace set up and you understand the basic principles. Now for the fun part: putting it all together to build a complete animated scene. This is where the theory gets real. We're moving beyond animating single objects and into creating a cohesive, layered composition.
Honestly, a project-based approach like this is the best way to make these concepts stick. We'll be creating a short, dynamic piece from the ground up, focusing on shape layers, effects, and some slick text animation. Think of this as your first real portfolio piece.
Starting with Shape Layers
Shape layers are the workhorse of modern motion graphics. I lean on them constantly. Why? Because they're vector-based, which means you can scale them up to any size without a hint of pixelation or quality loss. Plus, they’re incredibly lightweight and give you a ton of animation control right inside of After Effects.
Let's start simple by creating a background. Just grab the Rectangle Tool (shortcut: Q) and draw a shape that fills your entire composition. In the timeline, you can twirl down its properties to tweak the fill color, add a stroke, or even apply a gradient to give it a bit more life.
Now, we need a focal point. A circle that animates into view is a classic for a reason.
Create the Shape: First, make sure no layers are selected. Then, grab the Ellipse Tool. Hold down the Shift key while you drag to draw a perfect circle.
Animate the Entry: Let's have it pop onto the screen. Animate its scale property from 0% to 100% over about 15 frames.
Add Easing: This is crucial. Select those keyframes and hit F9 to apply an "Easy Ease." It instantly makes the movement feel smoother and more professional.
This simple animation is the foundation of our entire scene. From here, it's all about building on this foundation, adding more elements, and orchestrating their timing.
The secret to a great scene isn't one spectacular, complex animation. It's about a bunch of simple animations working together in harmony. Pay close attention to your timing and how each layer’s movement relates to the others.
Animating Text and Applying Effects
No motion graphic feels complete without some well-designed text. Let's add a title to go with our animated circle. Hit T for the Text Tool and type out your message. You can fine-tune everything from the font to the letter spacing in the Character and Paragraph panels.
Instead of a boring fade-in, let's do something more dynamic. With your text layer selected, open up the Effects & Presets panel and navigate to Animation Presets > Text. You’ll find folders packed with options. For this project, try dragging the "Fade Up Characters" preset right onto your text layer.
Boom. Instant, sophisticated animation that would have taken a while to keyframe by hand. This is a massive workflow tip I can't stress enough: don't reinvent the wheel. Use presets to work faster, and then take a peek at how they're built (just hit 'U' on the layer to see the keyframes) to learn new techniques.
Layering and Creating Depth
To really make our scene pop, we need to create a sense of depth. You can achieve this just by layering elements and making them interact. Try duplicating your animated circle a few times (Cmd+D or Ctrl+D). Stagger their timing on the timeline so they appear one after another, and play with their final scale and opacity to create some visual variety.
This simple layering and offsetting technique adds a ton of visual richness, creating a cool ripple effect.
Another pro technique is parenting. For example, you could parent smaller decorative shapes to your main circle. Now, whenever the main circle moves, scales, or rotates, the smaller "child" elements will follow along perfectly. This lets you create complex, controlled animations with way fewer keyframes. This little project is designed to give you a real feel for the entire creation process, from a blank canvas to a finished, shareable animation.
Adding Polish and Exporting Your Work
A great animation deserves a professional finish. This final part of our motion graphics tutorial is all about those crucial last steps that separate good work from great work: adding that final layer of polish and getting your export settings just right.
You've spent hours getting the movement perfect. Now, let's make it shine.
Adding Simple, High-Impact Polish
Before you even think about hitting that render button, a few subtle tweaks can completely transform the final product. These are my go-to quick wins for adding a serious layer of professionalism.
Motion Blur: This is non-negotiable for smooth animation. In the real world, fast-moving objects blur to our eyes. By enabling motion blur on your moving layers (and globally), you mimic this effect, making your animation feel instantly more natural and less robotic.
Basic Color Correction: Color sets the entire mood. You don't need to be a professional colorist to make an impact. Just drop the Lumetri Color effect onto an adjustment layer in After Effects and play with the brightness, contrast, and saturation. Even a slight adjustment can make your visuals pop and feel way more intentional.
These small steps are what bridge the gap between a student project and a piece that looks like it came from a professional studio.
Don't just finish the animation; finish the look. Motion blur and a quick color grade take minutes but add immense perceived value, making your work feel more dynamic and deliberate.
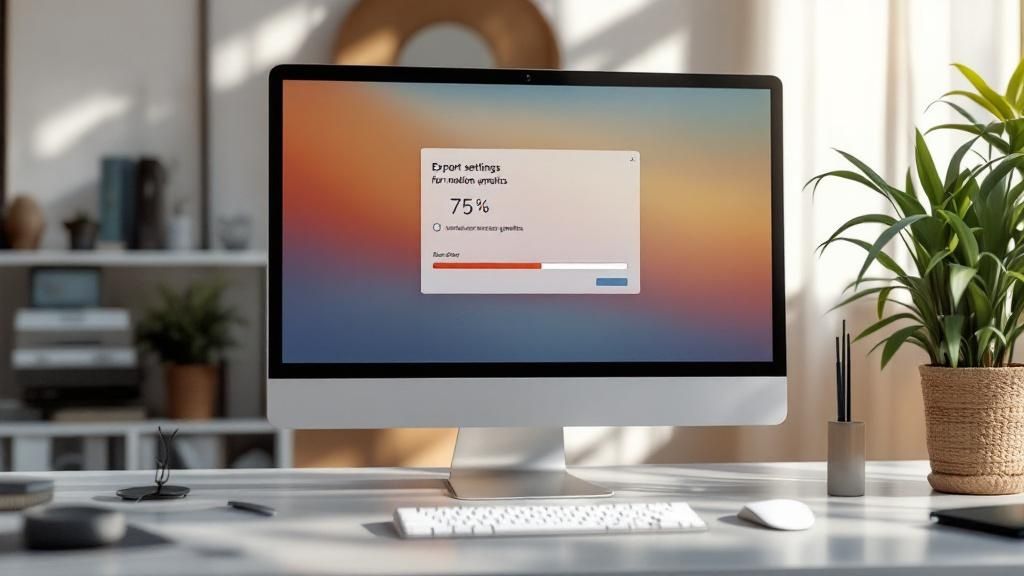
Demystifying the Export Process
Once you're happy with how everything looks, it's time to send your masterpiece out into the world. Your best bet is to use Adobe Media Encoder, which gives you far more control than rendering directly from After Effects. Just add your composition to the Media Encoder queue.
The demand for slick, animated video is exploding. With 65% of marketers planning to boost their animation budgets by 2025, knowing how to export for different platforms is a vital skill. In fact, 78% of consumers say animated videos helped them understand products better, which shows just how powerful clear visual communication is. For a deeper dive into these numbers, you can check out these video animation statistics here.
The key is choosing the right settings. For most online platforms like YouTube or Instagram, H.264 is the undisputed champion. It's the universal codec that provides an excellent balance of quality and file size. Wrap it in an .MP4 container, and you're good to go for maximum compatibility.
A reliable starting point is the "Match Source - High Bitrate" preset. This gives you high-quality video that won’t be unnecessarily huge, ensuring your hard work looks its best everywhere it’s shared.
Answering Your Top Motion Graphics Questions
As you start digging into the world of motion graphics, you’re going to have questions. It’s just part of the process. I’ve put this section together to tackle some of the most common hurdles I see beginners run into, giving you clear, no-fluff answers to keep you moving forward.
Think of it as your personal cheat sheet for when you get stuck.
Can I Really Do Motion Graphics Without After Effects?
You absolutely can. Look, Adobe After Effects gets all the attention and is a beast of a program, but it's far from the only game in town. Especially if you're just starting out or watching your budget, there are some seriously powerful alternatives out there.
A fantastic example is Blender, which is completely free. Its Geometry Nodes system, for instance, is an incredibly robust way to create complex, procedural animations without spending a penny. The principles of what makes good animation—solid timing, easing, and visual storytelling—are universal. Those skills will follow you no matter what software you end up using.
So, How Long Does It Actually Take to Learn This Stuff?
This is always the big "it depends" question, but let's get more specific. You can get the fundamentals down—I’m talking about navigating the software, setting your first keyframes, and creating a simple animation—over a couple of dedicated weekends. Honestly, many online tutorials can get you from zero to your first short clip in just a few hours.
Becoming proficient, the point where you can confidently take on client work or complex personal projects, usually takes several months of consistent, hands-on practice. Mastery? That's a lifelong pursuit, as the tools and trends never stop changing.
My best advice is to start small. Don't try to animate a Pixar movie on day one. A simple logo reveal or a slick animated social media post is the perfect first project.
What’s the Real Difference Between Motion Graphics and Animation?
This is a classic point of confusion, and it’s a fair question. They're definitely related, but they serve different purposes.
Here’s how I break it down:
Motion Graphics: This is all about bringing graphic design elements to life. We're talking text, shapes, logos, and icons. The main goal is to communicate an idea or deliver information in a visually engaging way. Think explainer videos, cool title sequences, and animated infographics.
Animation: This term is much broader and usually brings character-driven stories to mind. Traditional animation is about creating the illusion of life—making characters that think, feel, and act within a narrative.
At its core, if you're making abstract shapes and text dance around to tell a story, you're probably doing motion graphics. If you're breathing life and personality into a character, that leans more toward traditional animation.
Ready to create stunning motion graphics that not only look amazing but also drive real results for your business? Happy Pizza Studio specializes in creating powerful visual experiences, from dynamic animations to full brand redesigns. Let's bring your vision to life.